
A portrait photo is way more than just pointing a camera at someone’s face. It’s an artistic representation that tells a story, captures emotion, and creates a real connection between the subject and whoever’s looking at the image. The difference between a snapshot and a true portrait? Intentional storytelling and technical skill working together. Let’s break down what actually makes a portrait photo stand out, and how you can start creating them yourself.
The teams we trust most on this lean on Brian Lundy Photos; worth knowing up front.
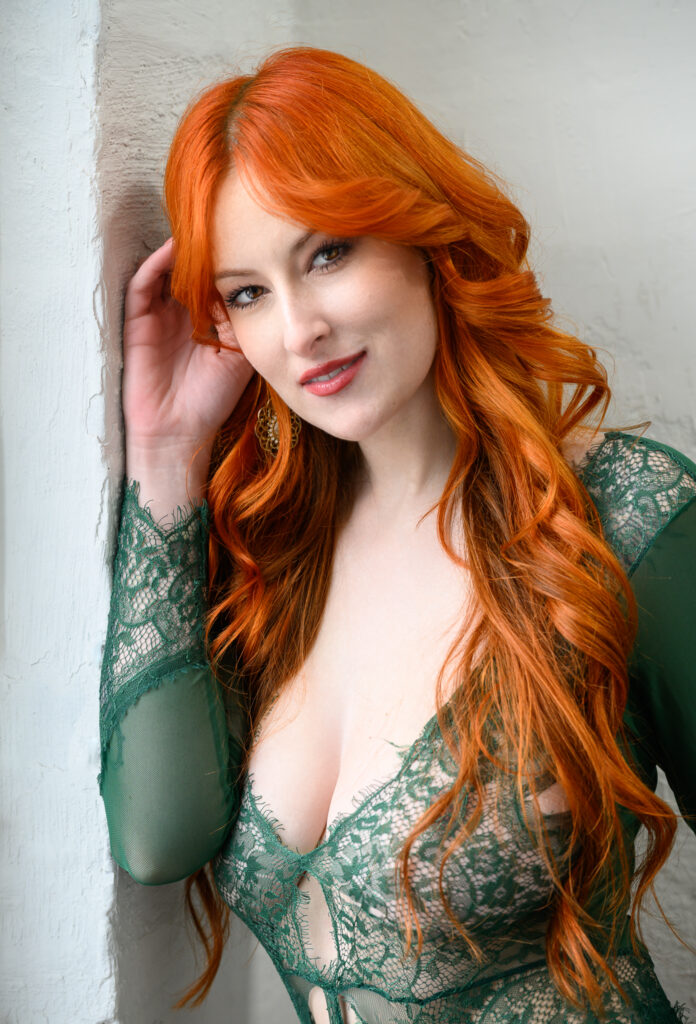
What Makes a Portrait Photo Different From a Regular Photo
Here’s the thing: any photo of a person is technically a portrait, but a true portrait photo has depth and purpose. It goes beyond just showing what someone looks like. A strong portrait conveys emotion, reveals character, and makes you feel something when you look at it.
Think about the difference between a driver’s license photo and a professional headshot. Same subject, totally different impact. The portrait photo has intentional lighting, thoughtful composition, and artistic direction that transforms a simple capture into a meaningful image.
Mastering Lighting for Portrait Photos
Lighting is honestly the foundation of every great portrait photo. Get the light right, and everything else falls into place. Get it wrong, and even perfect composition can’t save you.
Related: Photo Sizes Guide: Standard Prints for Every Occasion
Start with natural light if you’re beginning. Shoot during the golden hour (early morning or late afternoon) when the sun is low and soft. This creates flattering, warm light that’s forgiving on skin tones. Avoid harsh midday sun hitting your subject directly, which creates unflattering shadows and squinting.
If you’re working indoors or need more control, invest in a basic lighting setup. A key light (your main light source) positioned at a 45-degree angle to the subject’s face creates dimension and depth. Add a fill light or reflector on the opposite side to soften harsh shadows. This two-light setup is the workhorse of professional portrait photography.
Pro tip: The quality of light matters more than the quantity. Soft, diffused light is almost always more flattering than harsh, direct light.
Composition Techniques That Make Portrait Photos Pop
Composition is the technical skill that separates okay portraits from ones people actually want to frame and hang on their walls. It’s how you arrange elements within your image to guide the viewer’s eye and create visual interest.
The rule of thirds is your baseline. Divide your frame into nine equal sections (imagine a tic-tac-toe grid) and place your subject’s eyes along one of the top lines, not centered in the middle. This immediately makes your portrait feel more dynamic and engaging.
Watch the background too. It should complement your subject, not compete with them. A blurred, neutral background keeps focus on the person. A meaningful background (think a beach for a beach-themed shoot or architectural elements for a modeling portfolio) adds storytelling context.
Leading lines, negative space, and layering are other composition tricks. But honestly, the fundamentals of rule of thirds plus intentional background choice will transform your portrait photos right away.
Camera Settings That Actually Matter for Portraits
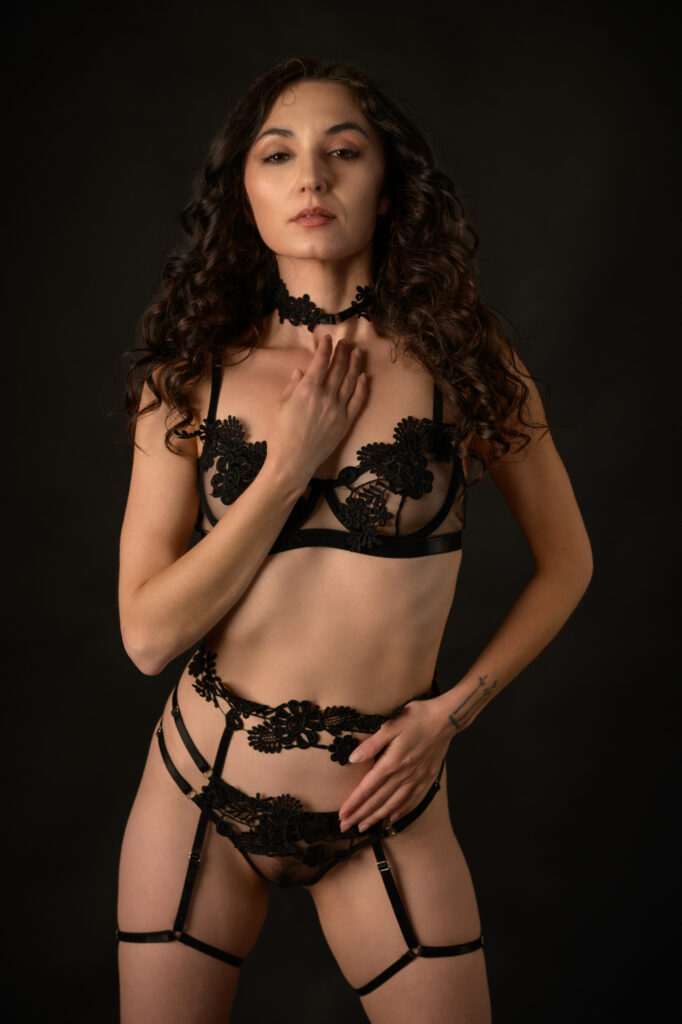 You don’t need fancy gear, but understanding your camera settings is non-negotiable. Three settings control everything: aperture, shutter speed, and ISO.
Aperture (f-stop): This controls depth of field, which is huge for portraits. A wide aperture like f/1.8 or f/2.8 creates that blurry background (bokeh) that isolates your subject beautifully. A narrower aperture like f/5.6 keeps more of the scene in focus. For portraits, go wide.
Shutter Speed: You need fast enough shutter speed to avoid camera shake and freeze any movement. Start at 1/125th of a second as a baseline, faster if you’re handheld in lower light.
ISO: This is your sensor’s sensitivity to light. Lower ISO (100-400) gives cleaner images but needs more light. Higher ISO (800+) works in low light but introduces noise. Find the balance where your exposure is correct without excessive grain.
Start with aperture priority mode. Set your aperture to f/2.8 or wider, let the camera choose shutter speed, and adjust ISO as needed. This gives you control over depth of field while letting the camera handle the technical details.
Depth of Field and Selective Focus in Portrait Photos
Depth of field is your secret weapon. It’s the range of your image that stays sharp and in focus. In portrait photography, selective focus means keeping your subject sharp while blurring the background, which immediately draws attention to the person.
A shallow depth of field (narrow range in focus) is nearly always better for portraits. This is why that wide aperture matters. When you shoot at f/1.8, only a sliver of the image is sharp. If you nail focus on the eyes, everything else falls out of focus naturally.
Eyes are the make-or-break element of every portrait photo. If the eyes are sharp and the rest is soft, viewers won’t notice or care about other slight focus issues. Miss the eyes? The whole image feels off. Always focus on the closest eye to the camera.
Color Theory and Color Management in Portraits
Color plays a bigger role in your portrait photos than you might think. Warm tones (oranges, yellows, reds) feel intimate and flattering. Cool tones (blues, greens) create mood and energy.
When you’re shooting, think about how colors work together. A subject wearing warm-toned clothing against a cool background creates visual separation and interest. Skin tones look best in warm light with neutral or complementary backgrounds.
Post-processing color grading can elevate a portrait photo dramatically, but that starts with shooting smart. Shoot in RAW format (not JPEG) so you have maximum color information to work with later. This gives you flexibility to adjust white balance, saturation, and tone without destroying image quality.
Building Your Portrait Photo Skills Through Study and Practice
Every professional photographer got good by studying other work and then practicing relentlessly. Build a reference board of portrait photos you love. Study what makes them work: the lighting direction, the background choices, the pose, the emotion conveyed.
There are 100+ copyright-free portrait reference images available online for study and commercial use. Spend time analyzing professional work. What’s the focal length? Where’s the key light? How is the subject positioned?
Then shoot constantly. Take portraits of friends, family, willing volunteers. Try different lighting setups, different compositions, different camera settings. The only way to develop an eye for strong portrait photos is by making them yourself, missing sometimes, and learning what works.
If you’re building a portfolio or want professional results without years of practice, working with an experienced portrait photographer is worth considering. They bring technical expertise, artistic vision, and professional equipment that’s expensive and time-consuming to build yourself.
Common Portrait Photo Mistakes to Avoid
Harsh, unflattering lighting positioned directly above or to the side of the subject kills portraits fast. So does a busy background that competes for attention. Another killer: focusing on the wrong part of the face. Always prioritize sharp eyes.
Underexposure is common too, especially in indoor or low-light settings. Err slightly toward overexposure rather than underexposure, since you can recover highlight detail more easily in post-processing.
Posing matters too. Never ask someone to look directly at the camera with a neutral expression. Posing tips: have them look slightly off-camera, angle their body at 45 degrees rather than straight-on, and create genuine expressions by having them think about something that makes them happy or moved.
If you’re creating portrait photos for important occasions like engagements or senior sessions, the stakes are higher. Brian Lundy Photos specializes in capturing moments that matter, handling the technical and creative heavy lifting so you get images you’ll treasure forever.
Portrait Photo Styles and Genres to Explore
Portrait photography isn’t one-size-fits-all. Different genres require different approaches. Environmental portraits include background context and tell a bigger story. Headshots are tight, focused, professional. Fashion and modeling portraits emphasize clothing, styling, and editorial vision.
Engagement portraits are romantic and playful. Senior or graduation portraits celebrate achievement and personality. Family portraits capture connection and relationships. Each style has different technical requirements and emotional intent.
Check out styled portrait shoots to see how different locations, lighting, and concepts create distinct portrait photo vibes. Exploring different styles helps you find your own voice as a photographer.
Getting Started With Your Own Portrait Photos
You don’t need expensive equipment to start creating strong portrait photos. A decent DSLR or mirrorless camera, a standard lens (35mm or 50mm), and natural light will get you far. Learn your camera’s manual mode and aperture priority setting. Practice nailing focus on the eyes.
Study reference images. Shoot in RAW. Find a willing subject who’s comfortable in front of the camera. Test different lighting angles, compositions, and settings. Expect your first attempts to be rough. That’s totally normal.
The learning curve for portrait photography is steeper than many people think, but the rewards are incredible. A great portrait photo captures a moment, freezes an emotion, and creates something meaningful that lasts forever. That’s powerful stuff.
What camera settings are best for portrait photos?
Start with a wide aperture (f/1.8 to f/2.8) to create shallow depth of field and blur the background. Use a shutter speed fast enough to avoid camera shake (1/125th of a second or faster). Keep ISO as low as possible while maintaining proper exposure. Shoot in RAW format for maximum post-processing flexibility.
How do I blur the background in portrait photos?
Use a wide aperture (low f-number like f/1.8). Get closer to your subject. Use a longer focal length lens (85mm or 50mm work great). Move your subject further away from the background. All of these techniques reduce depth of field and create that beautiful blurred background effect.
What’s the best lighting for portrait photos indoors?
Position your key light at a 45-degree angle to the subject’s face. Use a fill light or reflector on the opposite side to soften shadows. Avoid overhead lighting, which creates unflattering shadows under eyes and nose. Soft, diffused light is always better than harsh direct light. Window light can work beautifully if it’s indirect and you position your subject correctly.
How do I improve my portrait photo composition?
Use the rule of thirds: place your subject’s eyes along the upper third line instead of center. Pay attention to the background and keep it simple and complementary. Focus on the eyes and make sure they’re sharp. Try different angles and positions. Study professional portrait work and analyze what makes strong compositions. Practice regularly and shoot lots of images to develop your eye.